Yes, you can make udon noodles with bread flour. In fact, its higher protein content can help create the firm, satisfyingly chewy texture that makes Japanese udon so appealing. The challenge is getting that chew without turning the noodles tough or rubbery.
For beginners, I recommend mixing equal weights of bread flour and cake flour. This combination gives you a strong but manageable dough that is easier to roll and cut than dough made entirely with bread flour.
I learned the difference between chewy and hard udon through trial and error. Some of my early attempts produced noodles that were simply too firm, and my family was not impressed. Adjusting the flour blend, distributing the water evenly, and giving the dough enough time to rest made a noticeable difference.
Here’s how to use bread flour to make homemade udon noodles with a balanced, springy bite.
Best Flour for Homemade Udon: Bread Flour vs. All-Purpose
Traditional Japanese udon is commonly made with medium-protein wheat flour called churikiko. This type of flour provides enough gluten to give the noodles structure while allowing them to remain tender and flexible.
If you live outside Japan, you may not find flour labeled specifically for udon. Fortunately, you can use common supermarket flours to create a similar texture.
Why Bread Flour Changes the Texture of Udon
Bread flour generally contains more protein than all-purpose or cake flour. When wheat flour is mixed with water and kneaded, gluten develops and gives the dough strength and elasticity.
That elasticity is useful for udon because the noodles need to hold together during rolling, cutting, and boiling.
However, stronger gluten is not always better. When a dough becomes too elastic, it can resist stretching and shrink back under the rolling pin. The cooked noodles may also feel excessively firm, particularly if they are thick or undercooked.
The goal is a balance between elasticity and extensibility: the dough should hold together while still being easy to stretch.
Protein levels vary by brand, but the following ranges are useful general guides:
- Bread flour: Often around 12–13% protein, giving the dough greater strength and elasticity.
- All-purpose flour: Commonly around 10–12% protein in the United States, although brands vary.
- Cake flour: Generally lower in protein, often around 7–10%, producing a softer dough.
In the United Kingdom, bread flour is usually labeled strong white flour, while all-purpose flour is called plain flour. These categories are not exact equivalents across countries, so checking the protein content on the package is more reliable than relying on the name alone.
Which Flour Blend Should You Use?
You can adjust the texture of homemade udon simply by changing the proportion of bread flour.
| Flour Blend | Expected Texture | Best For |
|---|---|---|
| 100 g bread flour + 100 g cake flour | Balanced, chewy, and relatively easy to roll | Beginners and everyday udon |
| 100 g bread flour + 100 g all-purpose flour | Firm and springy, depending on the flour brands | When cake flour is unavailable |
| 135 g bread flour + 65 g all-purpose flour | Stronger bite and more resistance when rolling | Fans of especially firm udon |
| 200 g bread flour | Very elastic, potentially tough if not handled carefully | Experimenting with extra-chewy noodles |
My preferred starting point is the 50:50 bread flour and cake flour blend. It provides a useful balance between the strength of bread flour and the tenderness of lower-protein flour.
For a more assertive bite, similar to some firmer styles of Sanuki udon from Japan’s Kagawa Prefecture, try increasing the proportion of bread flour. Sanuki udon is particularly known for its satisfying koshi, a Japanese term describing the noodles’ characteristic firmness and elastic resistance when bitten.
Keep in mind that firmness also depends on hydration, kneading, resting, noodle thickness, and cooking time. Flour selection is only one part of the process.
Easy Bread Flour Udon Recipe (2 Servings)
This small-batch recipe is a practical starting point for making udon at home. The dough is firm, as traditional udon dough should be, but it should become manageable after kneading and resting.
Ingredients:
- 100 g (3.5 oz) bread flour
- 100 g (3.5 oz) cake flour
- 95 g (95 mL, approximately 1/3 cup plus 1 tablespoon) water
- 5 g salt, preferably measured with a kitchen scale
- Potato starch or cornstarch, for dusting
Yield: Approximately 2 servings
Active preparation: About 25–35 minutes, depending on your experience
Resting: Approximately 1–2 hours, with adjustments as needed
Cooking: Approximately 8–12 minutes for moderately thick noodles
Equipment: A mixing bowl, kitchen scale, rolling pin, sharp knife, and a large pot. A heavy-duty food-safe plastic bag is helpful if you plan to use the traditional stepping method.
The 95 g of water represents 47.5% of the total flour weight. In baking terminology, this is called hydration.
Udon dough is usually much firmer than bread dough, so do not expect a soft, stretchy ball when you first combine the ingredients.
Flour brands absorb water differently. If the dough remains excessively dry after thorough mixing, add water in very small increments rather than pouring in a large amount at once.
For reliable results, weigh the flour, water, and salt. Measuring flour by volume can create significant variations because different flours pack differently into measuring cups.
How to Make Udon Noodles With Bread Flour
Step 1: Mix the Salt Water Into the Flour
Combine the bread flour and cake flour in a large mixing bowl.
In a separate container, dissolve the salt completely in the measured water.
Add the salted water to the flour in three or four additions. After each addition, use your fingertips to rub and toss the flour, distributing the moisture as evenly as possible.
In Japanese udon making, this process is called mizumawashi, meaning the careful distribution of water throughout the flour.
At first, the mixture should resemble coarse crumbs or damp sand rather than a smooth bread dough.
Once the moisture is distributed, press the mixture firmly together into a rough ball.
If loose dry flour remains after thorough mixing, add another teaspoon of water and work it into the dough. Repeat only if necessary.
Avoid adding too much water simply to make the dough easy to knead. Traditional udon dough should feel relatively stiff.
Step 2: Knead or Step on the Dough
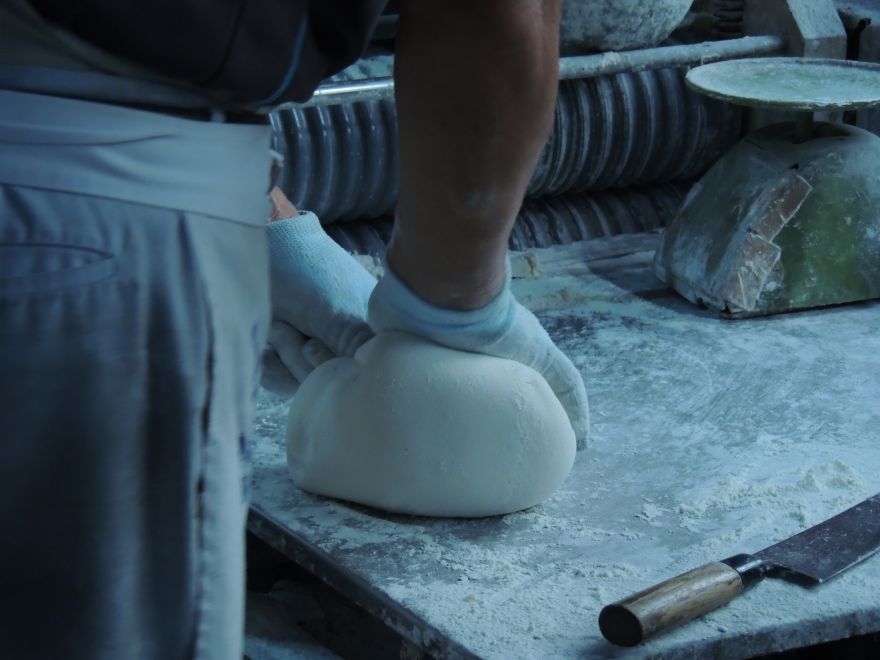
Once the dough holds together, knead it firmly until it becomes more cohesive.
Bread-flour dough can be difficult to knead by hand because it resists pressure. Japanese udon makers traditionally solve this problem with a technique called ashibumi, or foot kneading.
Despite the unusual name, the method is straightforward: the dough is sealed inside a protective bag, allowing you to apply pressure with your body weight.
Traditional stepping method:
- Place the dough in a clean, heavy-duty food-safe plastic bag. Double-bag it if necessary to prevent tearing.
- Place the sealed bag between clean towels on a stable, non-slip surface.
- With shoes removed, carefully press the dough through the bag using your feet. Hold onto a stable counter or support for balance.
- Flatten the dough into a thick disk.
- Fold the dough over itself inside the bag, then flatten it again.
- Repeat the folding and pressing process three or four times, approximately 10–15 minutes in total.
The dough should gradually become smoother and more uniform.
Never place your feet directly on exposed dough. Use a clean, intact food-safe barrier throughout the process.
If you prefer not to use your feet: Knead the dough with the heels of your hands, pressing it firmly against the work surface. Work in short sessions, allowing brief rests if it becomes too resistant.
The purpose of kneading is to develop a cohesive gluten structure, not to make the dough as stretchy as bread dough.
Step 3: Rest the Dough Until It Relaxes
Resting is especially important when making udon with bread flour.
Immediately after kneading, the gluten network is tight and elastic. If you try to roll the dough too soon, it may spring back toward its original shape.
Wrap the dough tightly or seal it in a food-safe bag to prevent the surface from drying out.
For this recipe, allow approximately 1–2 hours of resting in a cool kitchen, adjusting as needed according to the dough’s behavior and the room temperature.
During warm weather, avoid leaving the dough in a hot kitchen for extended periods. If you need a longer rest or want to prepare the dough overnight, keep it covered in the refrigerator.
How can you tell when the dough is ready?
Press the dough gently with a finger. It should feel less rigid than immediately after kneading, and an indentation should recover slowly rather than snapping back at once.
Another useful test is to begin rolling it. If the dough stretches with moderate pressure and does not immediately shrink back, it is ready.
If it resists rolling, cover it and rest it for another 15–20 minutes before continuing.
Giving the gluten time to relax is often more effective than forcing a stiff dough with extra pressure.
Step 4: Roll and Cut the Noodles
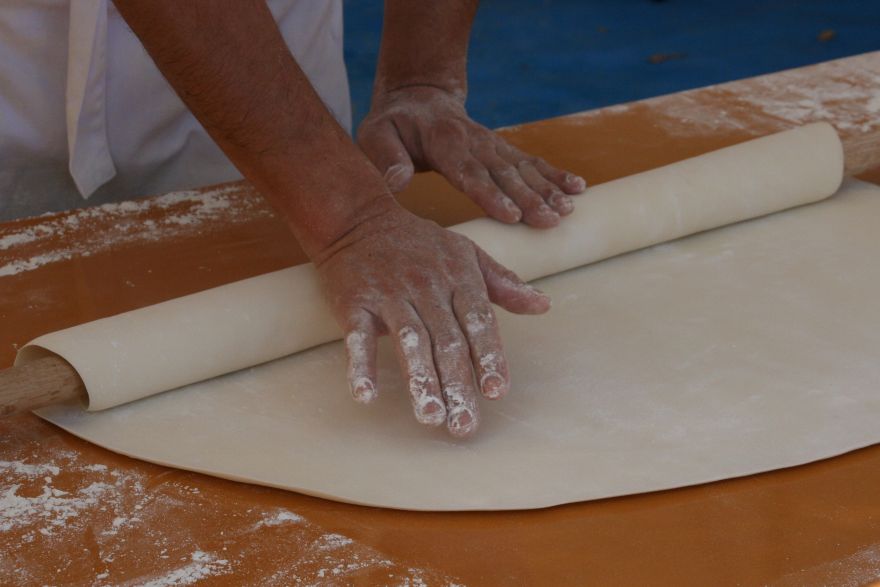
Dust your work surface lightly with potato starch or cornstarch.
Place the rested dough on the surface and flatten it with your hands.
Using a rolling pin, gradually roll it into a roughly rectangular sheet about 3–4 mm (1/8 inch) thick.
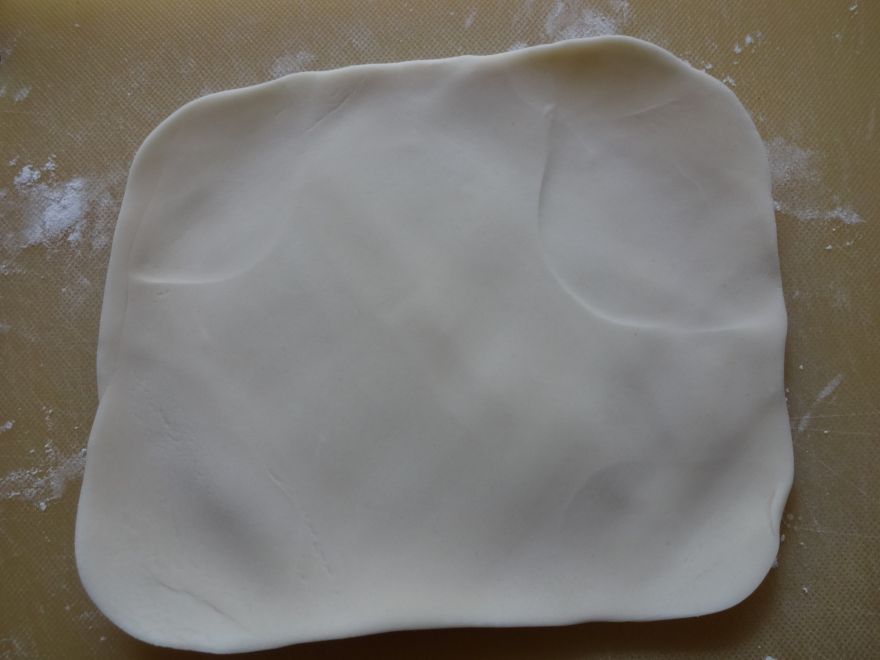
Rotate the dough occasionally to maintain an even thickness. If it begins shrinking back, cover it and let it rest briefly.
Once the sheet reaches your desired thickness, dust both sides with starch.
Fold it loosely into thirds, making sure the layers are adequately dusted to prevent sticking.
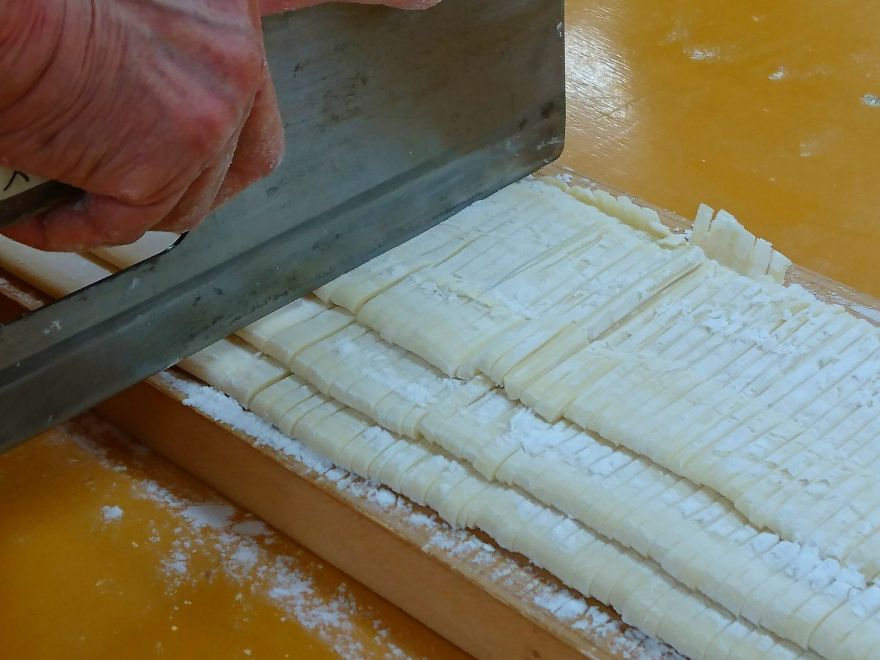
Using a sharp knife, cut the dough into strips approximately 3 mm (1/8 inch) wide. You can make them slightly wider if you prefer thicker udon.
Carefully separate the noodles and toss them with a little more starch.
Remember that udon expands during boiling, so the finished noodles will be thicker than the raw strips.
Potato starch is a traditional choice for dusting in Japan. Cornstarch is a convenient substitute in many American and British kitchens.
Step 5: Boil, Rinse, and Serve
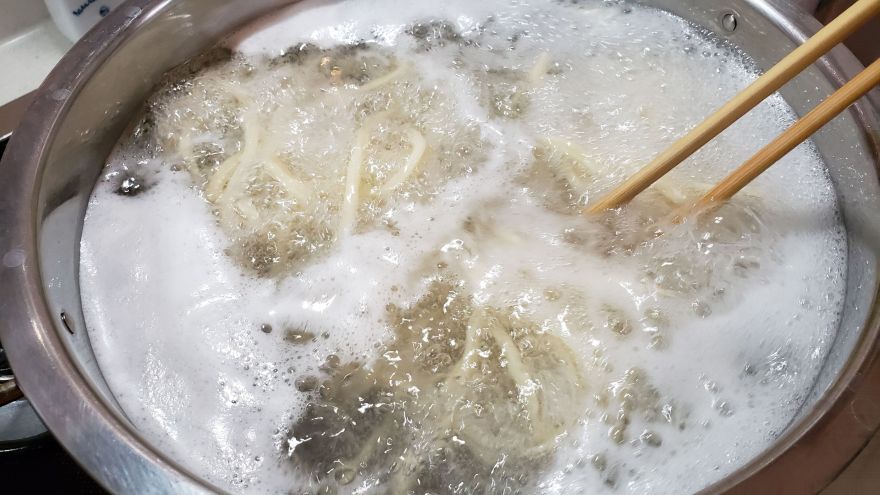
Bring a large pot of unsalted water to a rolling boil. The noodles already contain salt, and much of it will enter the boiling water during cooking.
Gently loosen the noodles and add them to the water, shaking off excess starch first.
Stir carefully to prevent sticking, especially during the first minute.
Maintain a steady boil without allowing the pot to overflow.
For noodles approximately 3–4 mm thick before cooking, begin checking around 8 minutes. Many batches take approximately 8–12 minutes, but thicker noodles may need longer.
Do not rely entirely on the clock. Remove a noodle, cool it briefly, and check that its center is fully cooked, without a dry or chalky core.
Once the noodles are cooked, drain them and rinse thoroughly under cold running water.
This removes excess surface starch and helps create the smooth, pleasantly firm texture associated with freshly prepared udon.
For cold udon, serve the rinsed noodles with a dipping sauce, such as tsuyu, a Japanese sauce commonly made with dashi, soy sauce, and mirin.
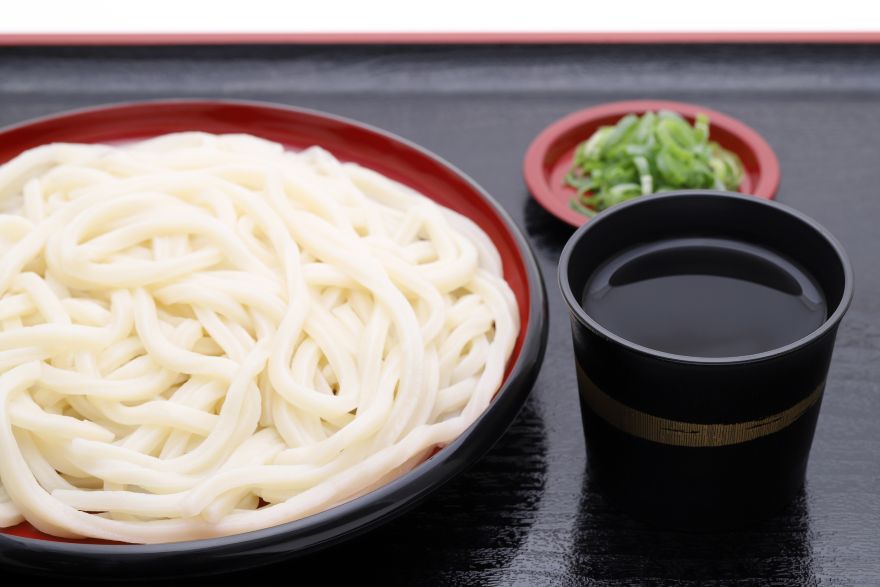
For hot udon soup, briefly reheat the rinsed noodles in hot water before transferring them to a bowl of broth.
You can also use them for bukkake udon, where a concentrated sauce is poured directly over the noodles, or yaki udon, a Japanese stir-fried noodle dish.
How to Adjust Chewiness Without Making Udon Tough
Once you are comfortable with the basic recipe, you can experiment with stronger flour blends, different hydration levels, and whole wheat flour.
Make one adjustment at a time so you can tell which change affects the texture.
Making Udon With 100% Bread Flour
Yes, it is possible to make udon using only bread flour.
However, the dough will generally have greater gluten-forming potential, making it more elastic and potentially more resistant to rolling.
For an experimental batch containing 200 g of bread flour, you can start with approximately 100 g of water and adjust gradually toward 110 g if the particular flour needs more moisture.
This represents approximately 50–55% hydration, which is higher than many traditional, firmer udon recipes. It is a possible adjustment for some bread flours, not a universal requirement.
Additional water may make the dough easier to work with, but too much can create sticky noodles that are difficult to cut.
Three practical adjustments can help:
- Allow more resting time: A stronger dough may need additional time to relax before rolling.
- Adjust water gradually: Add small amounts only when the dough remains excessively dry after mixing.
- Check the noodles while cooking: Thick noodles require sufficient time for their centers to cook fully.
If your first batch is unpleasantly tough, try replacing some of the bread flour with cake flour or all-purpose flour rather than simply increasing the cooking time.
The objective is not maximum hardness. Good udon should feel firm and elastic while remaining pleasant to bite through.
Adding Whole Wheat Flour for More Flavor
Whole wheat flour can add a nutty wheat flavor and a slightly darker, more rustic appearance to homemade udon.
It also contains bran and germ, which can interfere with the development of a continuous gluten network.
As a result, whole wheat udon may be more fragile or less elastic than noodles made entirely with refined white flour.
A reasonable starting blend is:
- 140 g bread flour
- 60 g whole wheat flour
- Approximately 100 g water, adjusted according to absorption
- 5 g salt
This creates a blend containing 30% whole wheat flour.
Because whole wheat flour often absorbs more water, allow adequate time for hydration before deciding whether additional water is necessary.
The dough may be slightly less smooth and elastic than the original recipe. That is normal.
If you want a more delicate texture, begin with 15–20% whole wheat flour and increase the proportion in later batches.
Whole wheat udon pairs particularly well with flavorful dipping sauces, miso-based broths, and hearty toppings.
How Salt and Water Temperature Affect the Dough
Salt does more than season udon noodles. It influences gluten behavior and helps create a firmer, more cohesive dough.
Traditional Japanese udon makers sometimes adjust salt concentration according to the season.
An old expression, dosankanroku, describes the practice of using stronger saltwater in summer and weaker saltwater in winter.
This reflects traditional approaches to managing dough under different seasonal conditions.
For a beginner making a small batch in a modern kitchen, however, precise weighing and consistent hydration are more important than following large seasonal changes in salt concentration.
The 5 g of salt used in this recipe is a convenient starting point for 200 g of flour.
Room-temperature water works well. Slightly lukewarm water can also be used, especially in a cold kitchen, but hot water is unnecessary for this standard method.
Water temperature can change how quickly the dough hydrates and relaxes. If you make udon regularly, take notes on the flour brand, water amount, kitchen temperature, and resting time to develop a reliable personal recipe.
Common Udon Problems and How to Fix Them
Even a carefully measured batch can behave differently depending on the flour and conditions in your kitchen.
Use this troubleshooting guide when your udon does not turn out as expected.
| Problem | Possible Cause | What to Try |
|---|---|---|
| Dough is too dry to form a ball | Insufficient or unevenly distributed water | Mix thoroughly, allow time for hydration, and add water one teaspoon at a time if needed. |
| Dough shrinks when rolled | Gluten is still too tense | Cover the dough and rest it for another 15–20 minutes. |
| Cooked noodles are rubbery or too tough | High-protein blend, excessive thickness, or insufficient cooking | Use more lower-protein flour, roll more evenly, and check that the noodles are fully cooked. |
| Noodles stick together after cutting | Insufficient dusting starch or overly wet dough | Dust the sheet before folding and separate the noodles immediately after cutting. |
| Noodles break easily | Weak or uneven gluten development, excessive whole wheat, or uneven hydration | Use a stronger white-flour blend, mix the water evenly, and handle the noodles gently. |
| Noodles become overly soft during cooking | Excessive hydration, thin cutting, or overcooking | Adjust hydration in the next batch and begin checking for doneness earlier. |
One of the most useful habits is to change only one variable between batches. For example, keep the flour blend and thickness the same while adjusting the water by 5 g.
That makes it much easier to understand how each change affects the finished noodles.
Also remember that wheat flour is a raw ingredient. Do not taste uncooked dough, and clean your hands, utensils, and work surfaces after handling raw flour. The CDC provides food safety guidance for raw flour and dough.
How to Freeze Homemade Udon Noodles
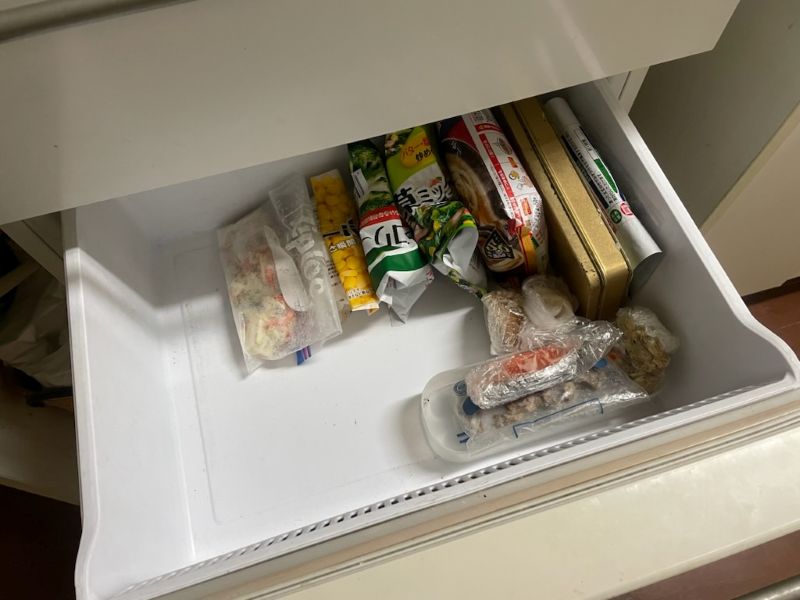
Homemade udon is convenient to prepare in batches, especially because kneading and resting take more time than the actual cooking.
You can freeze either uncooked or cooked noodles, depending on how you plan to use them.
For best texture, portion the noodles before freezing and protect them from exposure to air.
Freezing Uncooked Udon
Freezing the noodles before cooking is a good choice when you want freshly boiled udon later.
- Dust the cut noodles with potato starch or cornstarch.
- Separate them into individual serving portions.
- Arrange them loosely or in small, lightly flattened bundles to prevent clumping.
- Pack them in freezer-safe bags or airtight containers, removing excess air.
- Freeze promptly at 0°F (-18°C) or below.
For good quality, aim to use homemade frozen raw udon within approximately one month.
When ready to cook, place the noodles directly into boiling water without thawing them first.
Frozen noodles may require slightly longer cooking than fresh noodles. Check their centers before serving.
Freezing Cooked Udon
Freezing cooked udon is particularly convenient for quick lunches and weeknight meals.
- Cook the noodles until fully done but still pleasantly firm.
- Rinse them under cold running water.
- Drain thoroughly and allow them to cool promptly.
- Divide into individual portions.
- Pack in freezer-safe containers or bags and freeze promptly.
For the best homemade texture, try using cooked frozen udon within approximately two to three weeks.
To serve, reheat the noodles thoroughly in simmering water or the microwave. Add them to hot broth or your preferred sauce once heated.
These recommended periods are quality guidelines, not strict food safety expiration dates.
According to the USDA’s freezing and food safety guidance, food kept continuously frozen at 0°F (-18°C) can remain safe for extended periods, although texture and flavor may deteriorate.
Freezing does not make improperly handled food safe. Always use clean equipment, refrigerate perishable prepared food promptly, and freeze noodles while they are fresh.
Frequently Asked Questions
Do I need eggs or baking soda to make udon?
No. Traditional udon dough generally uses wheat flour, water, and salt. Unlike many ramen noodle recipes, it does not require alkaline ingredients such as kansui. Eggs are not necessary for this recipe either.
Can I use strong bread flour from the UK?
Yes. Strong white bread flour is broadly comparable to American bread flour. Check the protein content, since some extra-strong flours produce a particularly resistant dough. Blending it with plain flour or lower-protein flour can make rolling easier.
Can I replace cake flour with all-purpose flour?
Yes. Use 100 g bread flour and 100 g all-purpose flour for the same small batch. The dough may be somewhat firmer than the bread flour and cake flour version, depending on the protein content of your flour.
Can I prepare udon dough the night before?
Yes. Keep the dough tightly wrapped in the refrigerator overnight rather than leaving it at room temperature. Before rolling, allow it to become pliable enough to work with, keeping it covered so the surface does not dry out.
Can I use a pasta machine to roll udon dough?
Yes, provided the dough is sufficiently relaxed and the machine can handle its stiffness. Start with a wider roller setting and reduce the thickness gradually. Do not force very stiff dough through the machine. Udon is also easy to cut by hand with a rolling pin and knife.
Can I make gluten-free udon with this recipe?
Not by replacing the wheat flour with a gluten-free blend in the same proportions. This recipe relies on gluten for its characteristic texture and structure. Gluten-free udon requires a separately developed formula with suitable starches and binding ingredients.